Flat the Mountain The Mining Loop
How ore cash, drones, chests, and pickaxes compound into faster layer clears.
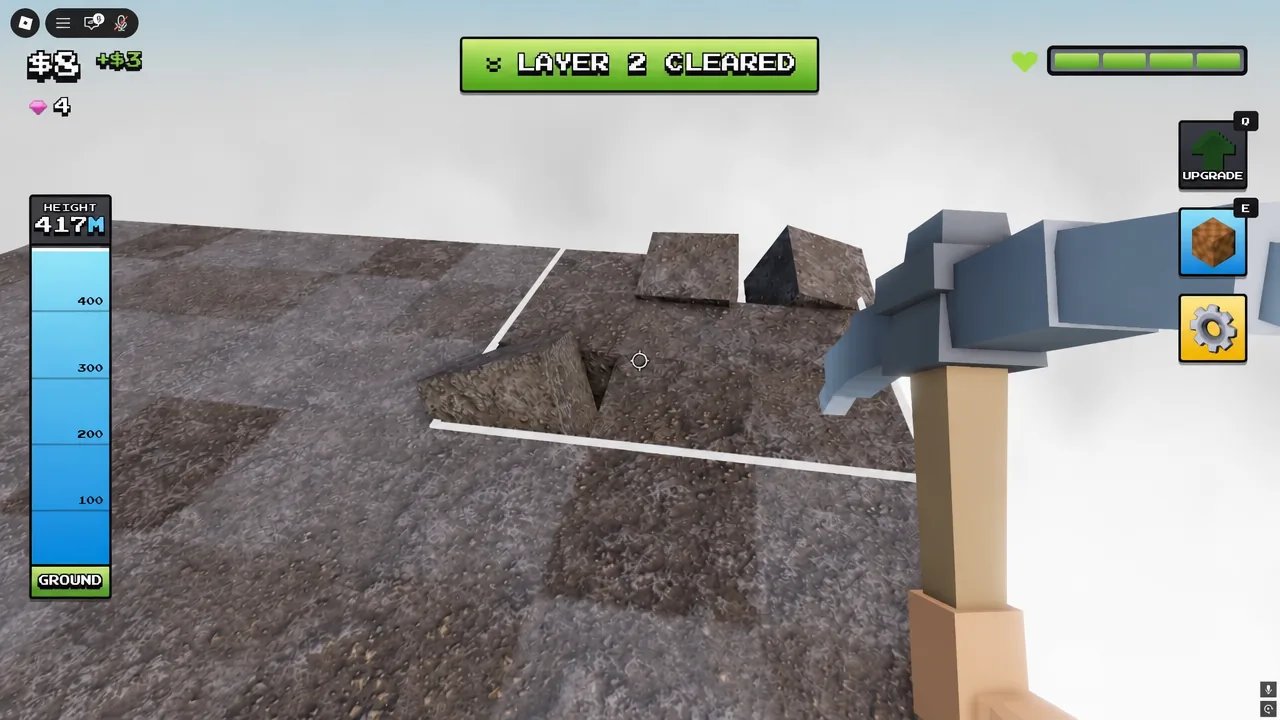
Every incremental has a heartbeat. In Flatten The Mountain, DomBlox Games tuned that heartbeat around a simple cycle: mine blocks — earn cash — buy automation and skills — dig chests for gems — buy pickaxes — mine faster. Understanding the loop stops you from treating the mountain like a mindless clicker and starts you treating it like a routing puzzle across ~89 layers.
Loop diagram (text)
- Break mountain blocks with your current pickaxe (and drones/turrets/Auto Mine).
- Collect ore cash — Diamond +$320, Ruby +$160, Emerald +$80, Gold/Sapphire +$40, Coal as filler.
- Spend cash on Damage, Drones, Turrets, Auto Mine (~$200), and productive skills (upgrade tier list).
- Divert attention to buried chests for gems.
- Spend gems on the next pickaxe.
- Return to step 1 on a deeper layer with better tools.
- Dodge the eagle whenever EAGLE INCOMING! paints a red zone (Eagle Survival).
Miss any spoke and the wheel wobbles: all chests with no drones leaves you click-exhausted; all drones with no gems leaves you on Golden forever.
Ore priority math
A diamond node is worth eight gold nodes in raw cash (+$320 vs +$40). That does not mean you sprint past three rubies to reach a contested diamond in a 20-player server — travel time matters. Rule of thumb:
- If a higher ore is within a short path, take it.
- If drones already chew a gold vein, personally escort diamonds and rubies.
- Use Coal only when regenerating positioning or waiting on eagle safe ground.
During 2X Money, multiply that logic: every second on Coal is a doubled opportunity cost. During Mining Speed x1.5, stand where block density is highest even if ore rarity is average — the buff cares about swings connected.
Automation inside the loop
Drones and turrets are not side content; they are how the loop continues while you chest-dive. Buy Drone I ($5) and Turret I (~$23) early after Damage I ($1), as taught in Getting Started. Auto Mine (~$200) converts the loop from “click forever” into “direct the machine.” Detailed placement thoughts live in Drones and Turrets.
Scripts like SoftKillz Auto Mine try to hard-automate steps 1 — . They can break after patches and risk bans — see the Scripts Hub if you insist — but the economic loop stays identical.
Gems are the long loop
Cash upgrades help now; gems redefine the pickaxe for every future layer. First clears often bank ~400 gems, enough to threaten Storm Hammer (~396 gems) if you starved nothing else. Most players should still climb Golden — Darkite — Amethyst — Miner’s Dream — Glitch — Nature — Angel — Lava before the legendary, unless surplus gems appear early. Thundercall’s ~5% instant destroy is why Storm Hammer collapses clear times toward ~33 minutes versus ~51 on a green first run (Clear All Layers).
Layer compounding
Early layers teach ore colors and eagle timing. Mid layers punish weak axes. Deep layers demand that drones, turrets, and pickaxe tier all exist together. Think in compounding interest: each drone level raises baseline block clear rate, which raises cash/min, which raises drone levels. Chests break the curve upward by unlocking axes that multiply every swing.
If cash/min stalls, audit:
- Are you mining Coal during buffs?
- Is Auto Mine still unaffordable while vanity skills are purchased?
- Are chests ignored for entire layers?
- Is the eagle eating 20% of your uptime?
Mode impact on the loop
Solo — Cleanest feedback; you see exactly which spend raised cash/min.
Duo / Trio / Squad (1–4) — Split loop roles: one keeps the mining machine fed, one specializes chests, one calls eagles (Players Hub).
Public 20-player — Expect contested diamonds; lean harder on drones so contested veins hurt less.
Codes and updates
Promo codes are not part of the reliable loop as of November 2026 — none confirmed working. Patches around 2026-10-20 can retune payouts; verify shops after updates listed on the Updates Hub.
Practice drill (10 minutes)
- Start a Solo session with your best current axe.
- For five minutes, only touch Emerald+ ores personally; leave Gold to drones.
- For three minutes, force two chest digs even if mid-vein.
- For two minutes, practice leaving a fake eagle zone on command.
- Spend everything earned on the next missing S-tier cash upgrade.
Repeat until the motions feel boring — boring means the loop is internalized. Then push for deeper clears with the Tier List Hub open in a second window.
Master the mining loop and every other guide on this wiki becomes additive instead of confusing. Flatten The Mountain is not about clicking faster forever; it is about feeding the right currency into the right machine at the right time.
Frequently Asked Questions
Quick answers for Flat the Mountain players.
What is the core loop in Flatten The Mountain?
Mine ores for cash, buy drones/turrets/skills, dig chests for gems, buy pickaxes, and repeat on deeper layers while dodging the eagle.
Which ore should I prioritize?
Diamond (+$320) and Ruby (+$160) first, then Emerald, then Gold/Sapphire. Coal is filler.
When do power-ups matter most?
Grab 2X Money for high-value ores and Mining Speed x1.5 for dense block sections or chest finishes.
Why am I stuck on cash?
Usually weak ore routing, missing drones/turrets, or spending on vanity before Auto Mine. Audit those three first.
Do gems replace cash?
No. Cash fuels automation and skills; gems buy pickaxes. You need both wallets healthy.